 NetLock RMM Docs
Configure email and Microsoft Teams notifications
Set up SMTP delivery and a Teams webhook, add one recipient each, and test both.
Configure email and Microsoft Teams notifications
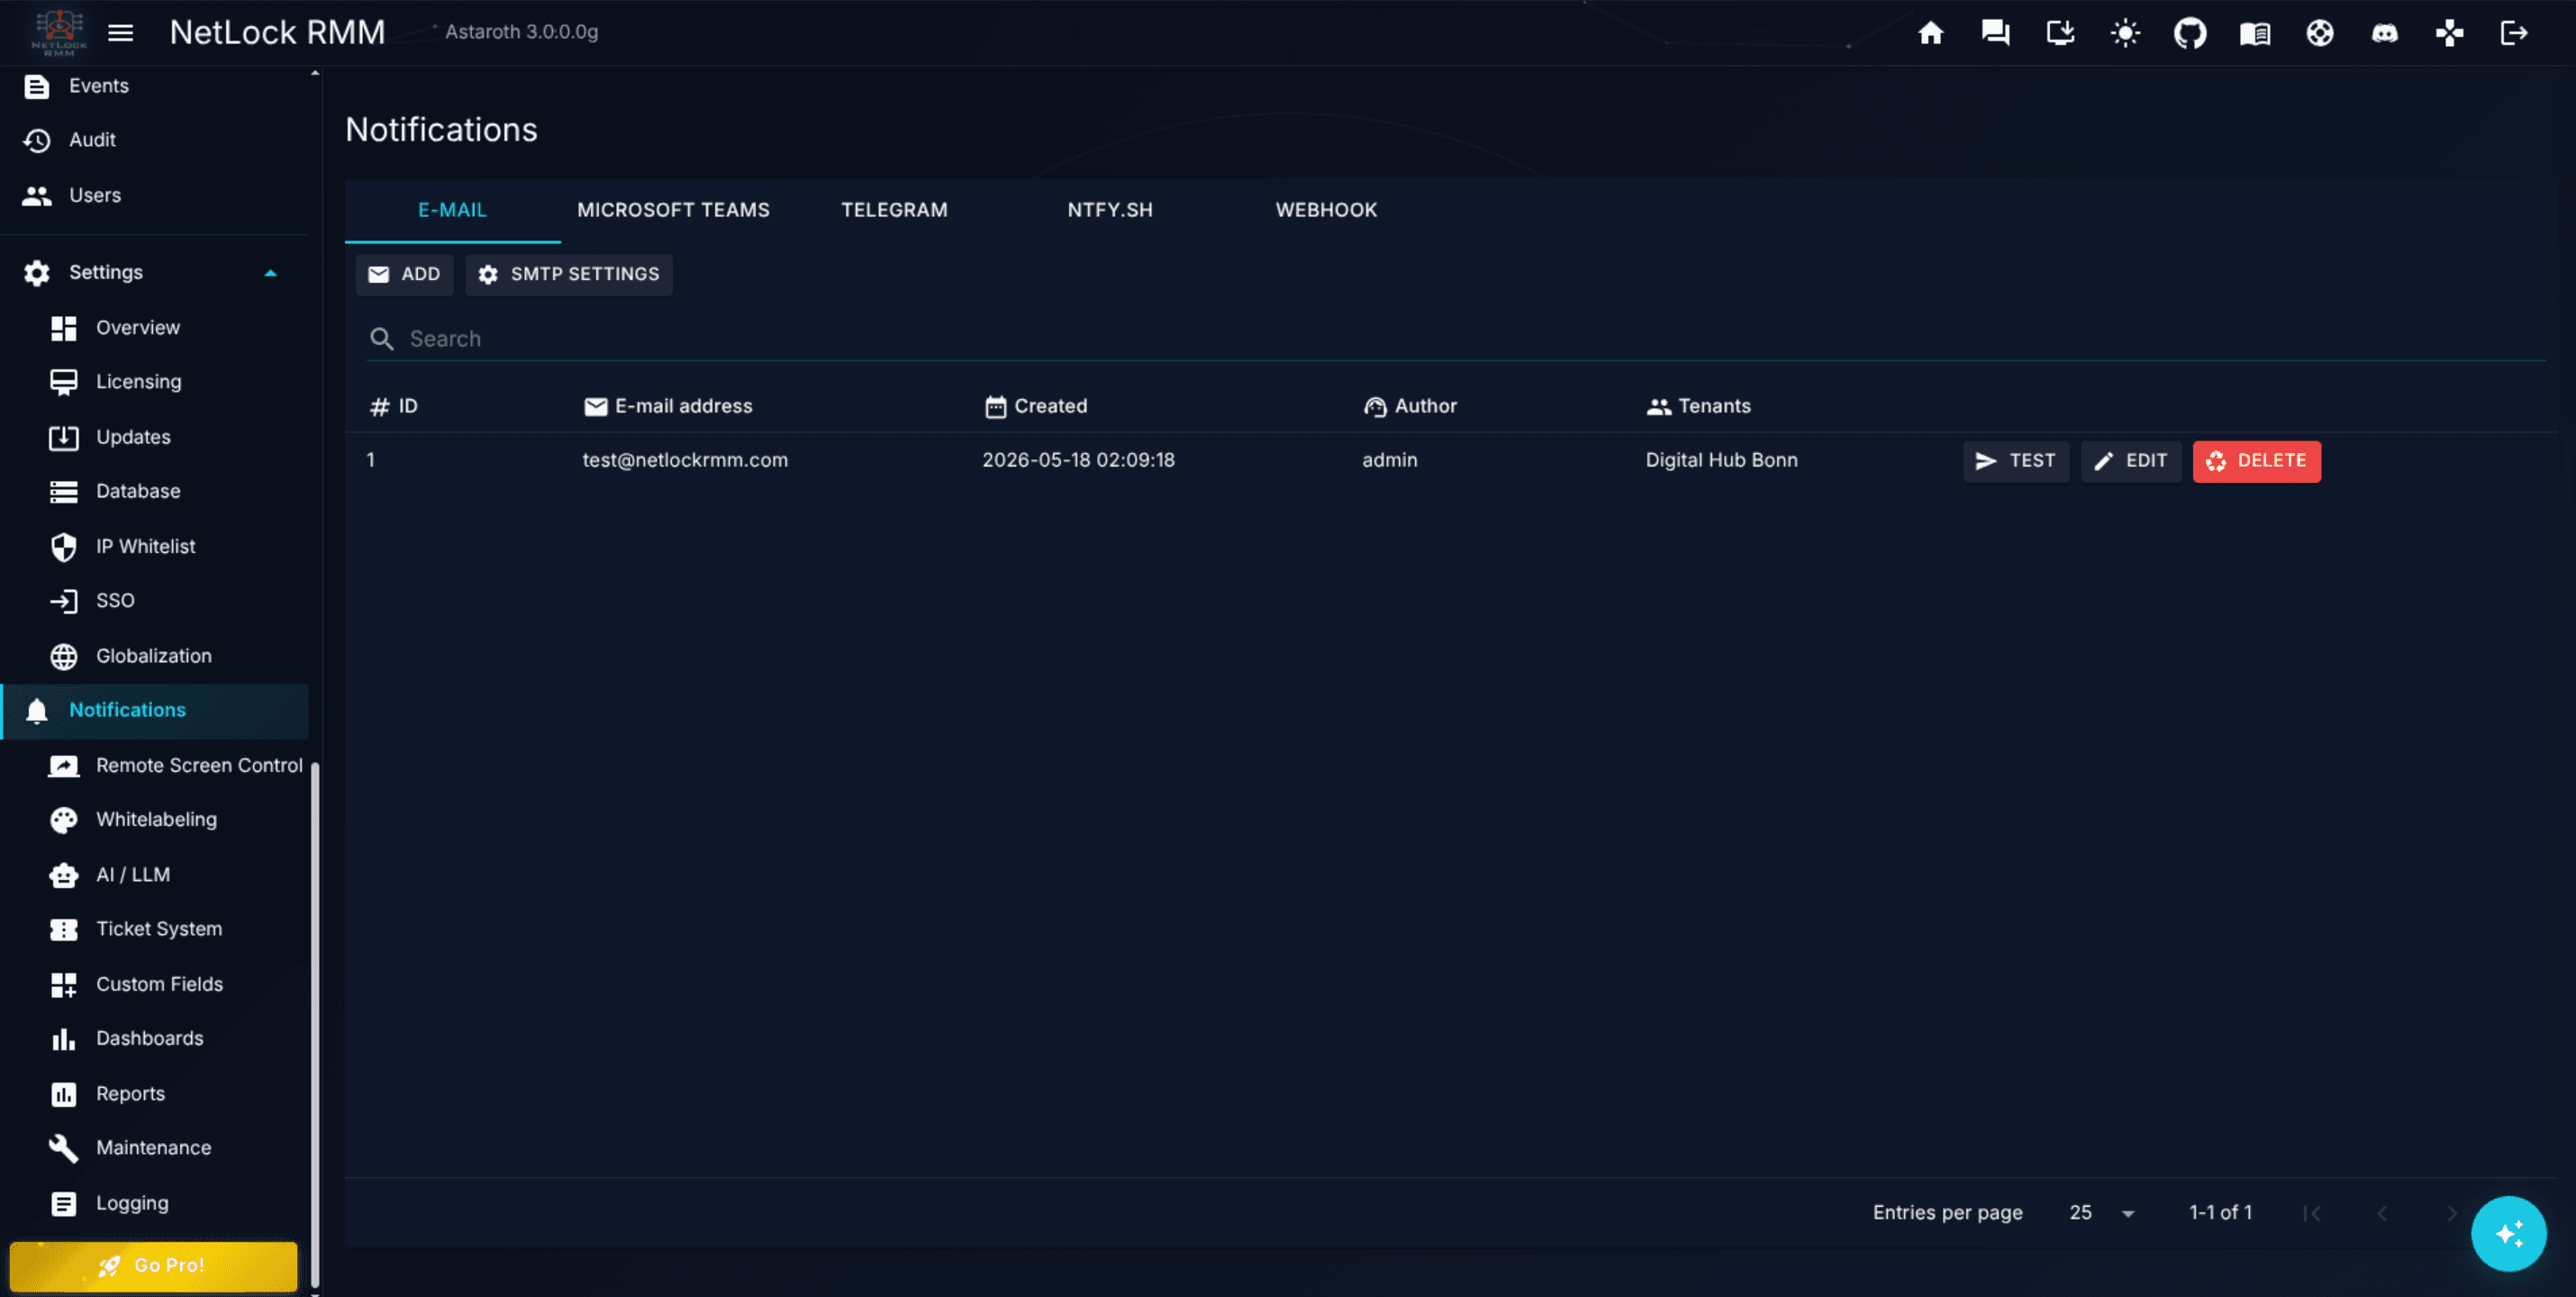
Notifications in NetLock RMM fan out from a single page — Settings → Notifications — to multiple channels. This guide walks through the two most common: email via SMTP and Microsoft Teams via a webhook created in the Workflows app. You will configure the global SMTP server, add one email recipient, create the Teams webhook and add it as a connector, and run the built-in test for each.
Before you start
- You have SMTP server credentials for your environment, and you can receive mail at a test address.
- For Teams, you are allowed to add a workflow to the target channel — that is where the webhook URL comes from since Microsoft retired the classic connectors. The first Teams step below creates it.
- Required permissions:
settings_enabled,settings_notifications_enabled.
Email — Steps
1. Configure the global SMTP server
- Open
Settings → Notifications(route/manage_notifications). - On the tab labelled
E mail, clickSMTP settingsto open the SMTP settings dialog. - Fill in:
Server— SMTP hostname.Port— SMTP port.SSL/TLS— tick if the server requires TLS.Username— SMTP authentication username. If this is not a valid email address, the dialog reveals extra fields.Password— SMTP password.From address— if shown, the sender address the server will accept.To address— if shown, a test-recipient address.
- Click
Test. The Console sends a message with subjectNetLock - Test Alertand bodyTest successful.. A snackbar reportsTest successful.on pass orTest failed: <error>on failure. - Save. The dialog's save action is gated behind a successful test — you cannot persist a configuration that has not been tested.
Note: Only one SMTP configuration exists per deployment. Editing it replaces the previous configuration for every email recipient.
2. Add an email recipient
- Back on the
E mailtab, clickAddto open the Add Mail Notification dialog. - Fill in:
E mail— the recipient address.Description— optional free text.Severity—Any,Critical,High,Moderate, orLow. Events not matching the chosen severity are filtered out for this recipient.Uptime Monitoring— on if this recipient should also receive disconnection alerts when uptime monitoring is enabled on a device.- Tenant scope — drag the tenants this recipient should receive events from out of the
Tenantslist and intoSelected tenants.
- Save. The row appears in the recipients table.
Microsoft Teams — Steps
1. Create the webhook in Teams
Microsoft retired the classic Office 365 connectors in May 2026. A channel's webhook URL comes from a Power Automate flow now, and the Workflows app inside Teams creates that flow for you.
- In Teams, open the channel that should receive the alerts.
- Open the channel's
…menu and chooseWorkflows. - Pick the template built on the
When a Teams webhook request is receivedtrigger — Teams lists it asPost to a channel when a webhook request is received. - Confirm the connection Teams offers, click
Next, check that the team and the channel are the ones you want, and add the workflow. - Copy the URL the dialog shows. That URL is what NetLock RMM needs; you can read it again later by opening the workflow and expanding its trigger.
2. Add a Teams connector
- Back in the Console on the Notifications page, switch to the
Microsoft Teamstab. - Click
Addto open the Add Microsoft Teams Notification dialog. - Fill in:
Connector Name— a recognisable name for this channel.Connector-Webhook-URL— the URL you copied in step 1. The value is masked once saved.Payload format—Adaptive Card (Workflows webhook)for a workflow created as above. PickAdaptive Card without envelopeif you edited the flow so that it passes the request body straight into itsPost card in a chat or channelaction, andPlain text (legacy connector)only when the URL points at something other than Teams. See A.8.3.Description— optional free text.Severity— same five options as email.Uptime Monitoring— same behaviour as email.- Tenant scope — drag tenants into
Selected tenants.
- Save.
3. Test the connector
- On the new row in the Microsoft Teams table, click the row's
Testaction. - The Console POSTs a test message in the connector's payload format. A snackbar reports
Successfully senton pass orFailed sending: <error>on failure. - Open the Teams channel the workflow posts into and confirm the test message arrived. The webhook answers before the flow runs, so a successful send is not on its own proof that the message was posted.
Verify it worked
- An email arrived at your test address with the subject
NetLock - Test Alert. - The Teams channel shows a test message from
Flow botthat names the connector you added. - The recipient rows on both tabs show the severity, tenant scope, and uptime-monitoring values you set.
Troubleshooting
- SMTP test fails with authentication errors. Re-check username, password, and whether your SMTP provider requires an app password or OAuth. For providers that allow only specific sender addresses, fill in
From addressto match. - Teams test succeeds but no message arrives. The webhook took the call and the flow failed afterwards. Open the workflow in Teams and read its run history: a failing
Post card in a chat or channelstep usually meansPayload formatdoes not match how the flow is built — switch between the two Adaptive Card options. A workflow that is turned off, or an archived channel, is quiet in the same way. - Teams test fails outright. The URL is wrong, or the workflow behind it was deleted. Create it again as in step 1 and paste the new URL over
Connector-Webhook-URL. A URL onwebhook.office.combelongs to a classic connector and no longer works at all. - Events do not trigger emails after setup. Severity filtering is on the recipient record. An event below the recipient's severity threshold is silently filtered; lower the threshold temporarily to verify.
- No messages for a specific tenant. Tenant scope on the recipient record acts as a filter. Add the missing tenant to
Selected tenantsor leave the scope empty to receive events from all tenants.
Related
- Appendix A.8 — Notifications deep dive — the other channels (Telegram, ntfy.sh, Webhook) and per-channel configuration details.
- Chapter 6.6.2 — Antivirus notifications sub-tab — per-policy event selection that feeds these channels.