 NetLock RMM Docs
Deploy custom applications with scripts
Create a script-based App Hub app — install, update, uninstall and detection scripts — and roll it out with Software Deployment.
Deploy custom applications with scripts
Winget, Chocolatey, and Flathub cover the common catalogue apps, but plenty of software is not in any of them: an internal line-of-business tool, a vendor MSI behind a download URL, a .deb from a private repository, a macOS .pkg. For those, App Hub has a Script source: you write the install, update, uninstall and detection commands yourself, and Software Deployment runs them on the target devices.
This guide covers the whole flow: creating a script-based app in App Hub, writing scripts whose result is judged correctly, adding a detection script that tells NetLock RMM whether the app is installed and which version, deploying the app, and reading the per-device results.
Before you start
- Required permissions:
collections_enabled,collections_app_hub_enabledto create the app; pluscollections_software_deployment_enabledandcollections_software_deployment_addfor the deployment. - Target devices are online and assigned a policy.
- You know the silent-install command line for your software (for example an MSI's
/qnswitches, an installer's/S,apt-get install -y, orinstaller -pkg). - With
Requires Elevationon, every script runs as the agent —SYSTEMon Windows,rooton Linux and macOS. There is no interactive user, so every command must be fully non-interactive.
Create the application
- Open
Collections → App Hub(route/app_hub_manage_apps). - Click
Addto open the Add Manual App dialog. - Fill in the shared metadata:
Name(required) — how the app appears in the catalogue and the deployment wizard.Version— the version this catalogue entry installs, for example2.4.1. It is compared with the version the detection script reports (see Versions and updates).Description,Publisher,Author,License,Homepage— optional metadata.- An icon upload (
.png,.ico,.jpg/.jpeg, up to 256 KB).
- Under Source, choose
Script. (The other sources —Winget (Windows),Chocolatey (Windows),Flatpak (Linux)— are package-manager entries and do not take scripts.) - Pick the
Script Shellthat matches the platform you are targeting:PowerShellfor Windows,Bashfor Linux,Zshfor macOS. This sets the editor language. The agent always runs scripts in the platform's shell: PowerShell on Windows, Bash on Linux, Zsh on macOS. - Fill in the script editors:
Install Script(required) — the commands that install the software.Update Script— run when a deployment item or the tray icon updates the app. Without it,Updateis not offered for this app.Uninstall Script— run when a deployment item or the tray icon uninstalls the app. Without it,Uninstallis not offered for this app.Detection Script— reports whether the app is installed and which version; see The detection script.Detection window (seconds)— how long the detection script keeps being asked after an action (0 to 3600, default 300; 0 turns the check after the action off).
- Set
Target OStoWindows,Linux, ormacOS, consistent with the scripts. - Leave
Requires Elevationon so the scripts run asSYSTEM/root. Turning it off runs them in the signed-in user's session on Windows; see Apps without elevation. - Optionally set
Tagsas a JSON array, e.g.["dev","cli"]. - Click
Confirm. The app appears in the App Hub list with thescriptsource chip.
The Edit App dialog exposes the same fields against an existing entry. A deployment reads the scripts from the app when it is saved; a deployment that is already running keeps what it was saved with.
How a script's result is judged
The same rule applies to the install, update and uninstall script, on Windows, Linux and macOS:
- The script failed when it exits with a code other than
0, when its output starts withError(case-insensitive), or when it runs longer than 30 minutes (it is then stopped and reported asTimeout). - Anything else is a success.
In practice: let the script end with the installer's exit code. An uncaught PowerShell exception, exit 1, or a failing command under set -e in Bash all mark the step as failed. Writing a line that starts with Error: still works as well.
Wait for the installer
A script is done when its process ends. Several installers return to the script before they have finished:
msiexec.exeand mostsetup.exefiles are GUI programs; PowerShell starts them and continues immediately unless you wait.- Bootstrappers hand the actual installation to a second process, a service or a scheduled task and exit right away.
Start installers with Start-Process ... -Wait -PassThru and exit with their exit code. For installers that still return early, the detection window covers the rest: after the script, NetLock RMM keeps asking the detection script until the app shows up.
PowerShell:
$ErrorActionPreference = 'Stop'
try {
    $p = Start-Process msiexec.exe -ArgumentList '/i', 'C:\path\to\app.msi', '/qn', '/norestart' -Wait -PassThru
    Write-Output "msiexec exited with $($p.ExitCode)"
    if ($p.ExitCode -eq 3010) { exit 0 }   # installed, restart required
    exit $p.ExitCode
}
catch {
    Write-Output "Error: $($_.Exception.Message)"
    exit 1
}
Bash / Zsh:
set -e
apt-get install -y ./app.deb
echo "MyApp installed."
Write idempotent scripts. The same install script can run more than once on a device — for example without a detection script, or when a deployment uses Force reinstall. Check before you act, use installer switches that repair or upgrade in place, and avoid steps that fail when a previous run already completed them.
The detection script
A detection script answers: is this application installed on the device, and which version? It is the same idea as an Intune detection rule, written as a script you control.
- Exit code 0 and at least one non-whitespace character on stdout → installed. Any other result → not installed.
- Print the installed version on the first line, for example
2.4.1(a leadingvis accepted). Up to four numeric parts are compared. A script that prints onlyinstalledstill works; the version is then unknown. - It runs in the same context as the app's other scripts, with the platform shell, and has a 5-minute timeout per run.
- A script that does not start, crashes or runs into the timeout counts as a detection error.
When it runs
The detection script runs before and after every install, update and uninstall.
| Action | Before the action | After a successful action |
|---|---|---|
| install | Installed → skipped (Skipped, detection state Detected) | must report installed |
| update | Not installed → skipped (Skipped, Not detected) | must report installed |
| uninstall | Not installed → skipped (Skipped, Not detected) | must report not installed |
- Before: a detection error lets the action run anyway (fail-open) and adds a
[detection]note to the output.Force reinstallon a deployment skips only the check before an install; the check after it still runs. - After: the detection script is asked right away, after 5, 10, 20 and 30 seconds and then every 30 seconds until it reports the expected state or the detection window ends. Confirmed →
Successwith a[detection] Confirmed after N sline. Not confirmed within the window →Failed, even though the script itself succeeded. If every check fails with a detection error →Detection error. - A detection window of
0turns the check after the action off. Without a detection script neither check runs.
What the detection script can see
With Requires Elevation on, the detection script runs as SYSTEM (Windows) or root:
- The user's registry hive (
HKCU) and profile folders (%APPDATA%,%LOCALAPPDATA%,~/…) belong to theSYSTEMorrootaccount, not to the signed-in user. An app installed per user is invisible there; detect it in the user's context (Requires Elevation off) or detect an installed file path that does not depend on the profile. - 32-bit applications on 64-bit Windows register under
HKLM:\Software\WOW6432Node\Microsoft\Windows\CurrentVersion\Uninstall. Query both uninstall keys, as in the example below. - Keep the script fast and local; avoid network calls.
Update and uninstall
- A deployment item runs the script of its own action:
updateruns the Update Script,uninstallthe Uninstall Script. - An app without an update script cannot be deployed with the
updateaction, and an app without an uninstall script cannot be deployed withuninstall: the wizard disables the action and saving the deployment is refused. - An update or uninstall is skipped on devices where the detection script reports the app as not installed.
Versions and updates
When the detection script prints a version, it is compared part by part with the app's catalogue Version:
- Tray icon App Hub: the app shows
Update availablewhen the catalogue version is higher. - Auto-update: a policy's auto-update for a script app runs the update script only when the detection script reports a version lower than the catalogue version. An app without a detection script, without an update script, without a version on the detection output or without a catalogue version is not updated automatically.
After you publish a new release, raise the Version of the App Hub app and update its install and update scripts.
Apps without elevation
With Requires Elevation off, deployment steps on Windows run in the session of the signed-in user through the tray icon:
- The tray icon runs the detection script before the step, the script, and the check after it, in the user's context. Per-user installs (
HKCU,%LOCALAPPDATA%) are visible there. - The deployment waits for the tray icon's result (up to 35 minutes plus the detection window) and reports it like any other step, so
Abort on first failureapplies. Without a signed-in user the step fails right away. - On Linux and macOS, steps without elevation run in the agent's context and have to be script apps.
The app in the tray icon's App Hub
Script apps show their state in the tray icon's App Hub:
- The detection script decides
Installed(with the detected version),Not installedorUpdate available. Apps that require elevation are checked by the agent; apps without elevation are checked in the user's session. While the check runs the badge showsChecking…. - Without a detection script, or when it fails, the state is
Status unknown; hover the badge for the reason. UpdateandUninstallare shown only when the app has the matching script.Updateis enabled when an update is available, when the app is installed but no version can be compared, or when the state is unknown.Uninstallis enabled when the app is installed or the state is unknown.- After an install, update or uninstall the tray shows the phase
verifyingwhile the detection window runs.
Deploy the application
App Hub is only the catalogue — installing the app on devices happens through Software Deployment.
- Open
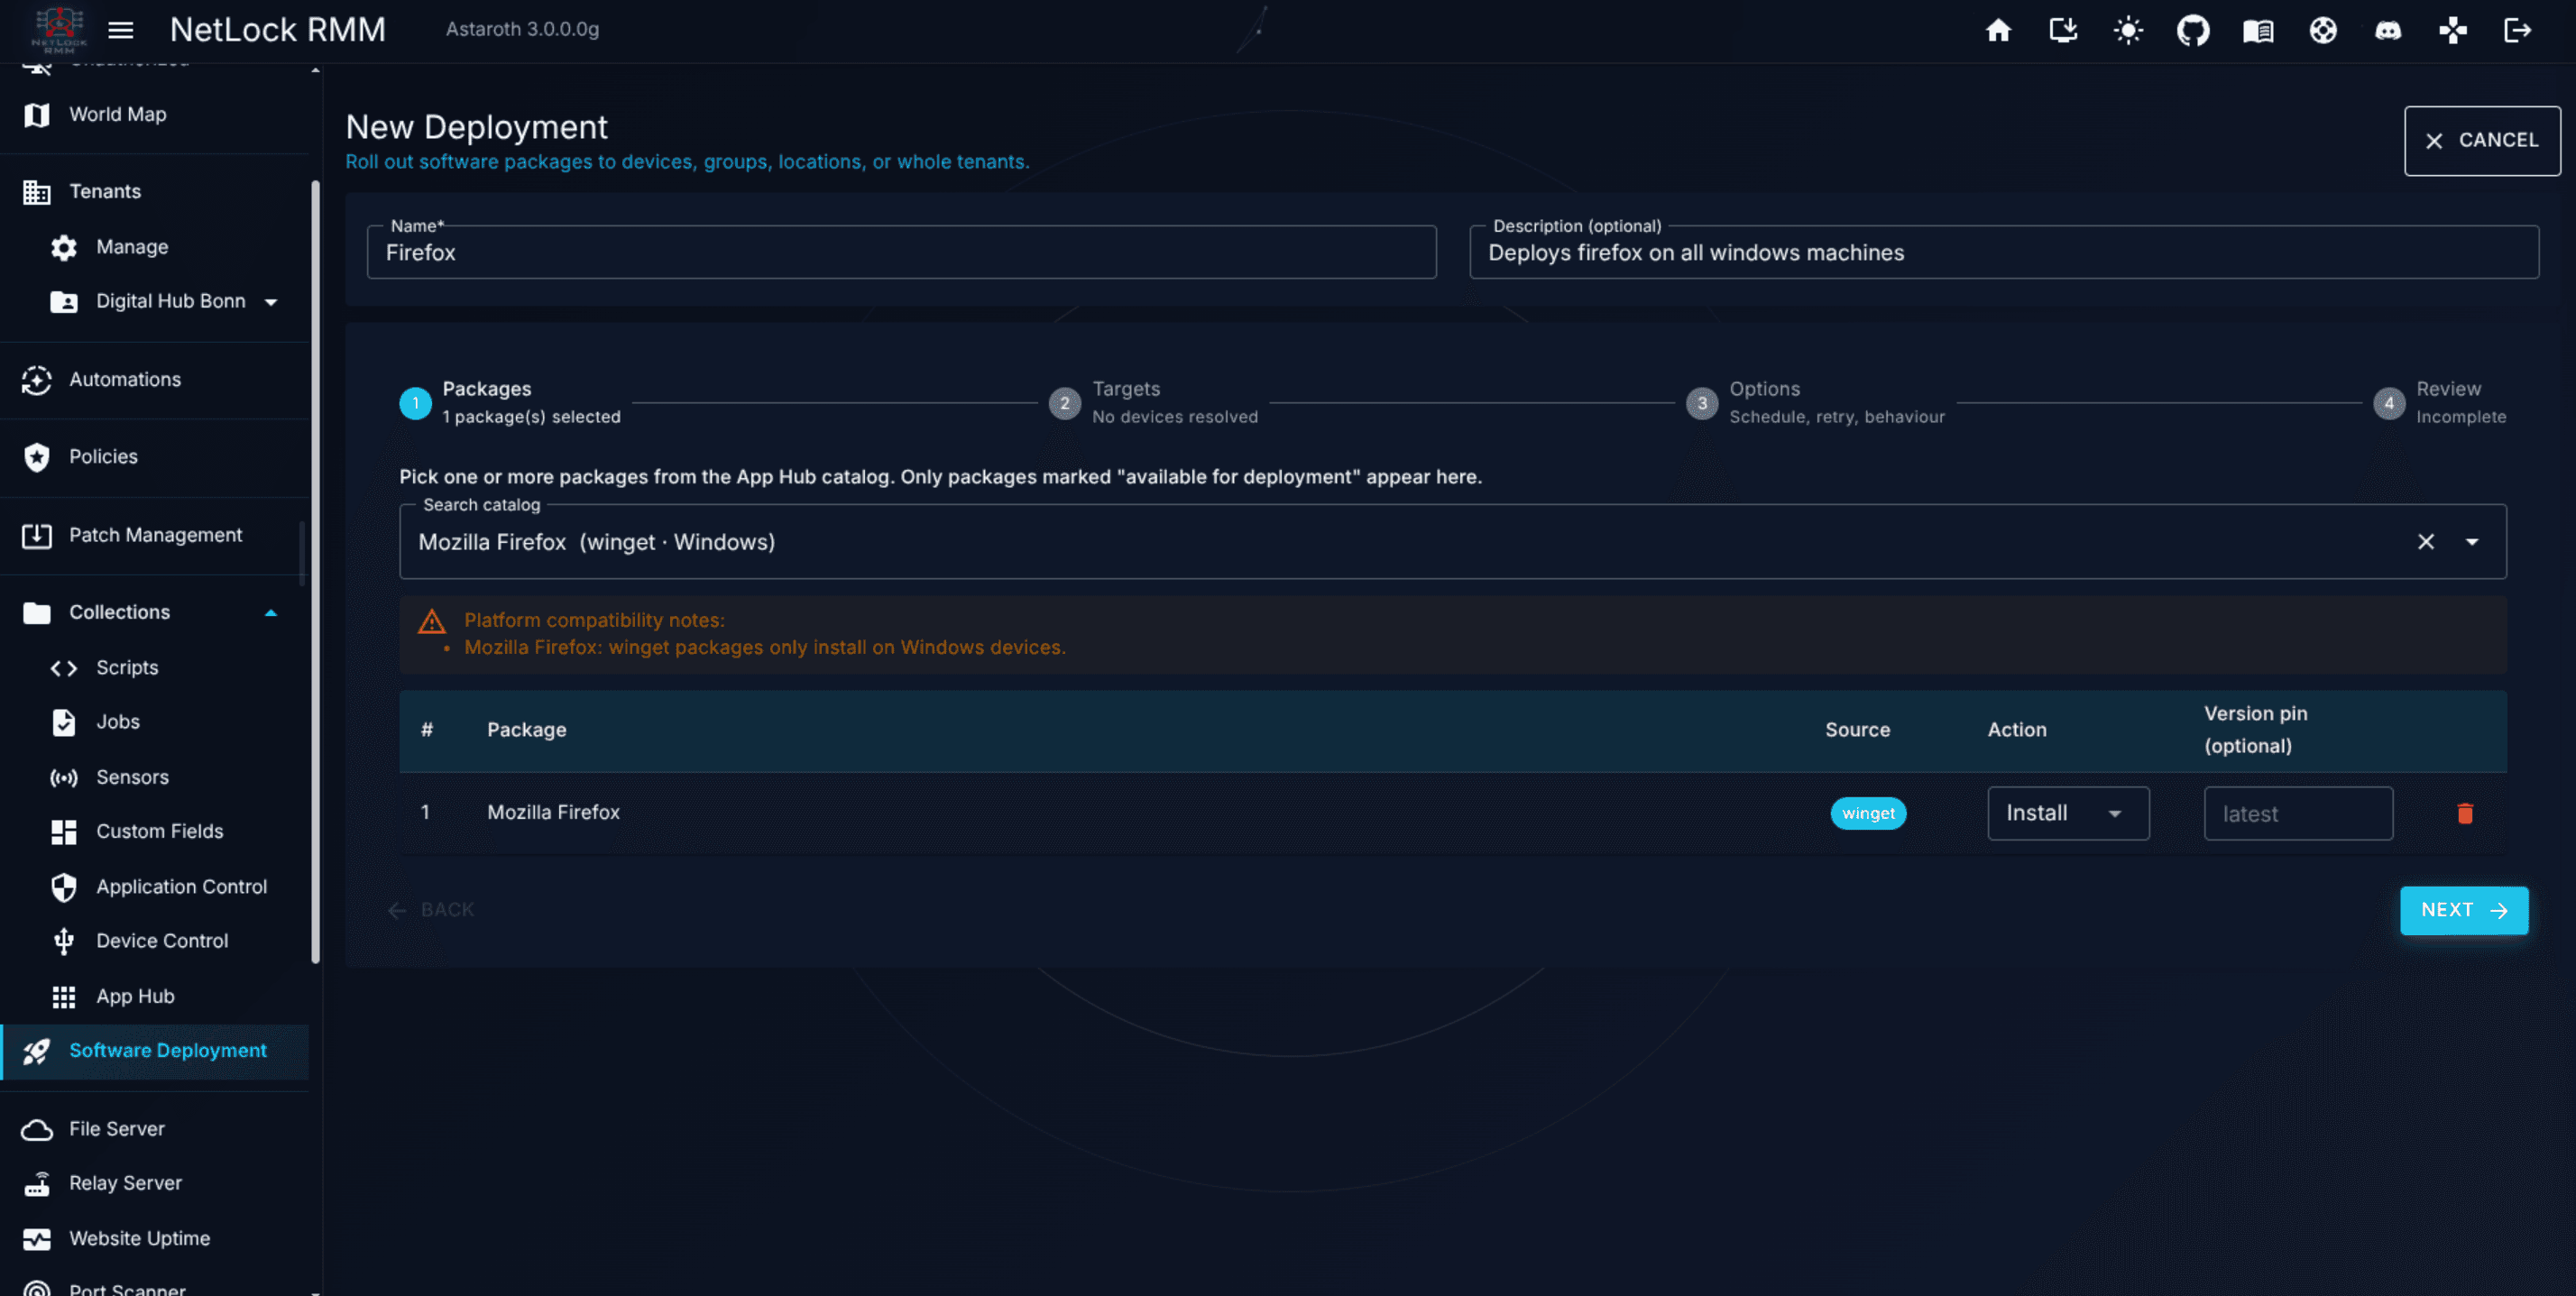
Collections → Software Deployment(route/software_deployment) and start aNew Deployment. - Step 1 — Packages. Select your script app and choose the action.
updateanduninstallare disabled when the app has no script for them. - Step 2 — Targets. Pick the devices, groups, locations, or tenants that should receive it. Keep the Target step aligned with the app's
Target OS— a Windows PowerShell app will fail on Linux devices. - Step 3 — Config. Set the schedule, retries, and flags. Leave
Force reinstalloff to skip devices where the app is already detected; turn it on to install everywhere (the check after the install still runs). - Step 4 — Review. Confirm and submit.
For a fuller walkthrough of the wizard, see Deploy software with App Hub.
Read the results
Open the deployment's detail page. The History tab and the per-device results dialog show an outcome chip per attempt, and next to it what the detection script saw:
Success— the script succeeded and, with a detection script, the result was confirmed.Failed— the script failed, or the detection script did not confirm the result within the detection window.Skipped— the detection before the action decided there was nothing to do. Counts as a success.Detection error— the script succeeded, but the detection script failed on every check after it.Timeout— the script ran longer than 30 minutes, or the tray icon did not report a result in time.- Detection state:
Detected,Not detectedorDetection failed.
The per-device dialog shows the exit code, duration, timestamps, an error summary, and the stdout tail. Lines starting with [detection] explain every decision the detection script made, including how many seconds after the action the result was confirmed.
Complete examples
Windows (PowerShell) — MSI install, uninstall, and registry detection with version:
# Install Script
$ErrorActionPreference = 'Stop'
try {
    $installer = Join-Path $env:TEMP 'myapp.msi'
    Invoke-WebRequest -Uri 'https://example.com/myapp.msi' -OutFile $installer -UseBasicParsing
    $p = Start-Process msiexec.exe -ArgumentList '/i', "`"$installer`"", '/qn', '/norestart' -Wait -PassThru
    Write-Output "msiexec exited with $($p.ExitCode)"
    if ($p.ExitCode -eq 3010) { exit 0 }
    exit $p.ExitCode
}
catch {
    Write-Output "Error: $($_.Exception.Message)"
    exit 1
}
# Uninstall Script
$keys = 'HKLM:\Software\Microsoft\Windows\CurrentVersion\Uninstall\*',
'HKLM:\Software\WOW6432Node\Microsoft\Windows\CurrentVersion\Uninstall\*'
$app = Get-ItemProperty $keys -ErrorAction SilentlyContinue |
Where-Object DisplayName -like 'MyApp*' | Select-Object -First 1
if (-not $app) { Write-Output 'MyApp is not installed.'; exit 0 }
$p = Start-Process msiexec.exe -ArgumentList '/x', $app.PSChildName, '/qn', '/norestart' -Wait -PassThru
exit $p.ExitCode# Detection Script
$keys = 'HKLM:\Software\Microsoft\Windows\CurrentVersion\Uninstall\*',
'HKLM:\Software\WOW6432Node\Microsoft\Windows\CurrentVersion\Uninstall\*'
$app = Get-ItemProperty $keys -ErrorAction SilentlyContinue |
Where-Object DisplayName -like 'MyApp*' | Select-Object -First 1
if ($app) { Write-Output $app.DisplayVersion; exit 0 }
exit 1Linux (Bash) — .deb install + package detection with version:
# Install Script
set -e
tmp="$(mktemp --suffix=.deb)"
curl -fsSL -o "$tmp" 'https://example.com/myapp.deb'
apt-get install -y "$tmp"
rm -f "$tmp"
# Detection Script
dpkg-query -W -f='${db:Status-Status} ${Version}\n' myapp 2>/dev/null |
awk '$1 == "installed" { print $2; found = 1 } END { exit !found }'macOS (Zsh) — pkg install + app-bundle detection with version:
# Install Script
set -e
tmp="$(mktemp -d)/myapp.pkg"
curl -fsSL -o "$tmp" 'https://example.com/myapp.pkg'
installer -pkg "$tmp" -target /
# Detection Script
v=$(defaults read '/Applications/MyApp.app/Contents/Info' CFBundleShortVersionString 2>/dev/null) && [ -n "$v" ] && echo "$v" && exit 0
exit 1Troubleshooting
- The step fails with "the detection script did not report the app as installed within N s". The script finished, but the app did not show up. Either the installer returned before it was done (start it with
Start-Process -Wait -PassThru, or raise the detection window for bootstrappers that hand over to a service), or the detection script looks in the wrong place (per-user install seen fromSYSTEM, 32-bit app underWOW6432Node, a differentDisplayName). Run the detection script asSYSTEMon the device (for example withpsexec -s) to check what it reports. - The deployment reports
Failedwith an exit code, but the app is installed. The installer returned a non-zero exit code that is not an error for it (for example3010, restart required). Map such codes toexit 0in the script. - The app always installs, even where it is already present. Detection reported "not installed". Check that the detection script exits
0and prints at least one line when the app is present. Also confirmForce reinstallis off. - The app is always skipped, even on clean devices. Your detection script exits
0with output on machines that do not have the app. Tighten the check (a specific file path or a specific registryDisplayName). Detection error. The detection script crashed or ran into its 5-minute timeout on every check after the action. Keep it fast and avoid network calls.- Update or Uninstall is not offered. The app has no update or uninstall script.
- The tray shows
Status unknown. The app has no detection script, the detection script failed, or the agent did not answer within 3 minutes. Hover the badge for the reason. - A script app is never auto-updated. The detection script prints no version on its first line, the catalogue
Versionis empty, or the installed version is not lower than the catalogue version. - A step without elevation times out. The tray icon did not report a result: no user was signed in, the tray icon was closed, or the script is still running. The step waits up to 35 minutes plus the detection window.
Related
- Chapter 8.5 — App Hub — the catalogue, manual and browser-based entries, and the script fields.
- Chapter 8.8 — Software Deployment — the deployment reference, including the per-device result detail and the
Force reinstallflag. - Deploy software with App Hub — deploying a Winget catalogue app end to end.
- Guide H.7 — Write, test, and schedule a PowerShell script — for one-off scripts that are not packaged as App Hub apps.